1. login into your Google Tag Manager account.
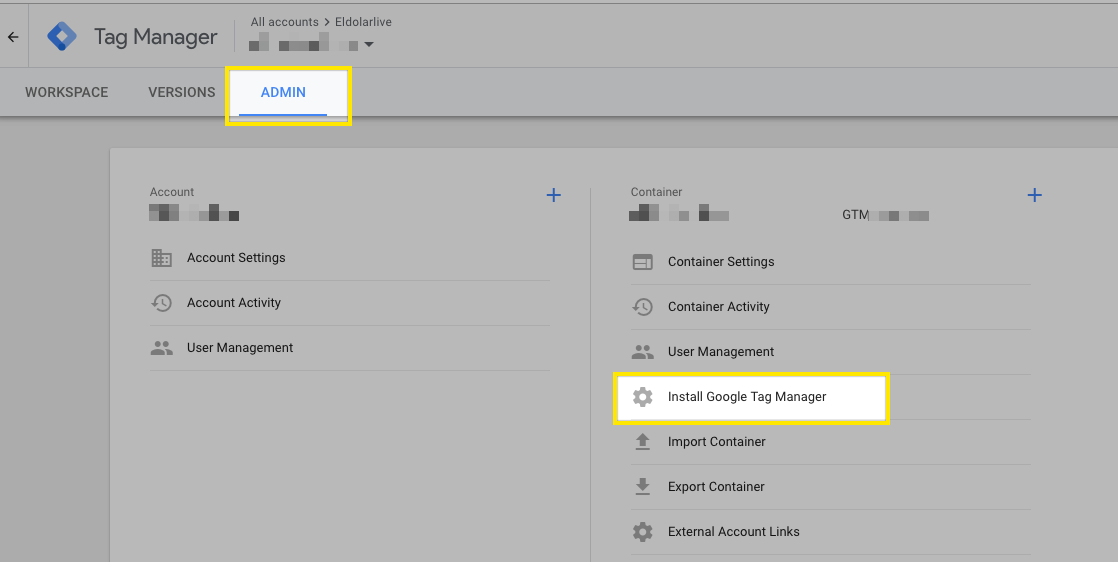
2. Install it to your website if you didn't already, click on Admin, then Install google tag manager by following instructions:
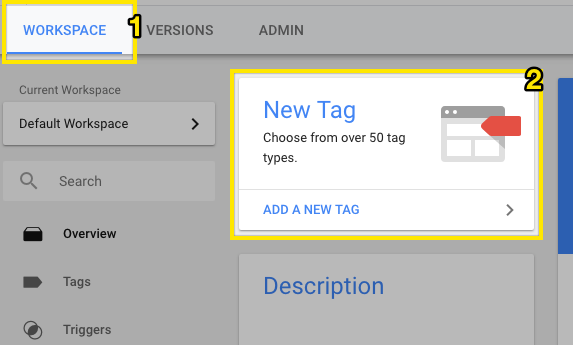
3. Click on workspace, then click on New Tag to add pushbots tag:
now name the tag "PushBots" , then click on Tag Configuration:
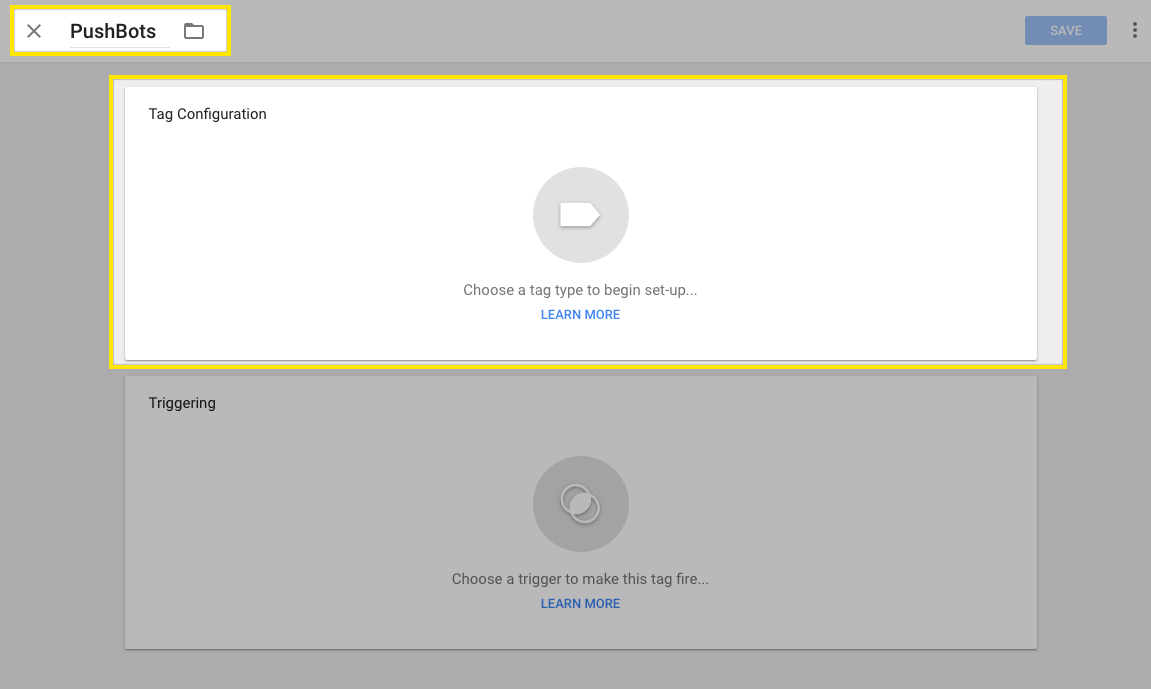
4. Select Custom HTML, then paste Pushbots code:

<script>
//some default pre init
var PB = PB || {};PB.q = PB.q || [];PB.events = PB.events || [];

//********** Update these fields ********
//PushBots ApplicationId (required)
PB.app_id = "APPLICAITON_ID";
//Your domain name, must be HTTPS or localhost  (required)
PB.domain = "https://yoursite.com";
//Update and uncomment it if you are using custom safari certificate for your app
//PB.safari_push_id = "web.com.pushbots.main";
//****************************************

PB.logging_enabled = false;
PB.auto_subscribe = true;
// Show background overlay on webpage while asking for notification permission
PB.overlay = true;

//Custom worker
//PB.worker_url = PB.domain + "/pushbots-worker.js";

//Welcome notification message
PB.welcome = {title:"Welcome 🙌🎉",message:"Thanks for subscribing!", url :PB.domain};

function sendNotification(){
      PB.register();
      PB.q.push(["sendNotification", {title:"Hey 🐬",message:"Why not?", url :"https://google.com"}]);
}

window.addEventListener('load', function(event) {
  PB.init();
});

</script>

<script src="//cdn.pushbots.com/js/sdk.min.js" type="text/javascript"></script>
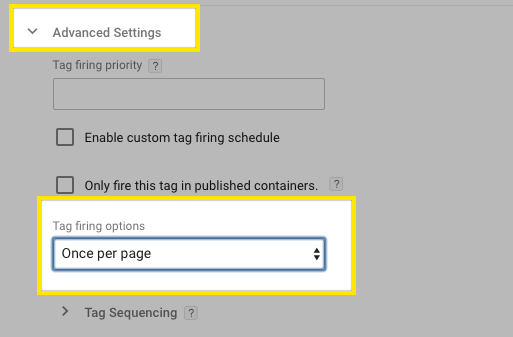
5. Click on "Advanced Settings" and set "Tag firing options" to Once per page
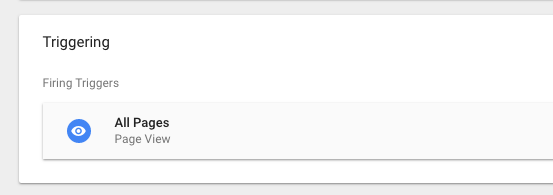
6. Click the "Triggering" box and select "All Pages", then click on save.
7. Back on your Workspace tab, you can "Publish" or "Submit" and "Publish"
8. Download and upload pushbots worker file to your root directory:
file should be accessible through this link:
